
Warren’s Look Techniques
$149.00
You want to be more creative and want to know what is possible as well as how to add more value to your project. My day to day experience as a colorist helps the way I transfer techniques into this real world training course.
Movie content on a website or social media has become a vital part of marketing any business or individual, and creating the ‘look’ is a key part of being a colorist. As a DP or director you want to understand what is possible in the grading suite, as this will save you time on set and later in post.
A focus on the creative aspects of grading in Resolve
This is an intermediate course and is more creative than technical. So if you have taken the Fundamentals or Advanced courses or have been using Resolve for a while, you will be fine. You can follow the individual 20 to 25 minute classes using the same techniques and footage that I use.
Warren’s Look Techniques includes over 25GB of footage for you to practice your craft
When you buy the course, you’ll have access to a mixture of Arri Alexa, Blackmagic Pocket Camera, and RED R3D footage plus all the problem footage I use in the OFX lessons. You will also get all the XMLs and reference movies used in the conform classes.

This course is for colorists of all levels
This course is ideal for photographers, DITs, DPs, VFX artists, directors and even producers who want to understand more about the color process. Maybe you need to make a 30 second promo for Instagram, a small TVC, or your passion project short film that you want to edit and grade. This course will give you the confidence to offer different ‘looks’ to your clients.
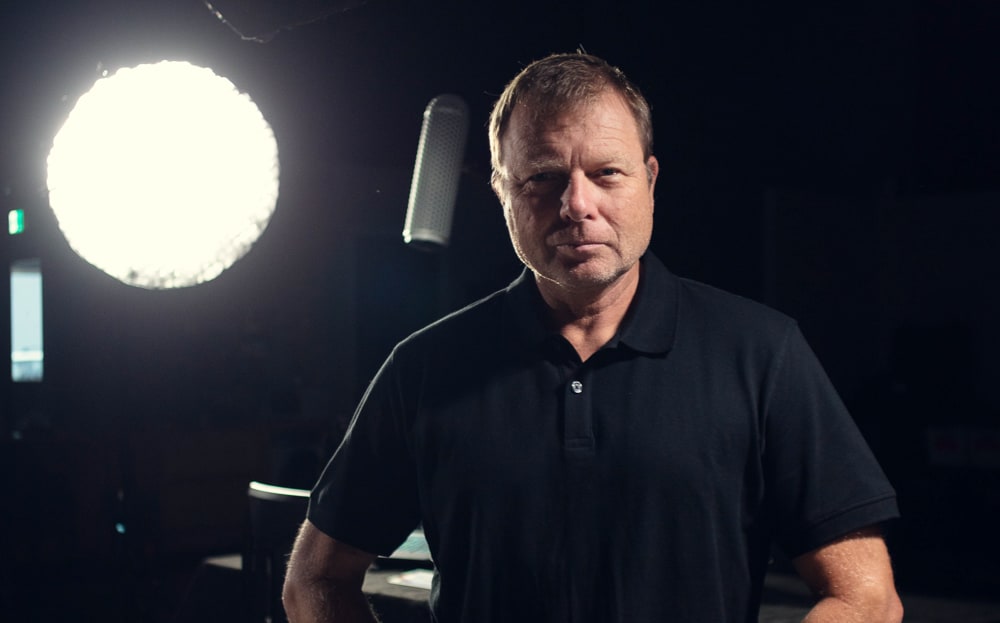
About me
I’ve been grading for 30 years, starting in photography before moving into London’s film cutting rooms and settling into the role of Colorist. I have extensive experience in all forms of grading, from Super 8 music videos to feature films. I’ve been using Resolve since 2005 and am proficient in both the software and what can be achieved creatively with it. I have my own DaVinci Resolve grading facility in Australia and spend time grading or teaching International Colorist Academy classes.
Visit my web sites at:
www.warreneagles.com.au
www.icolorist.com
Class 1: Matching wide and close up shots from different cameras
Creating a look is fun, but matching it to other shots is probably the most important and hardest thing to learn. This class tries to address both of these. Checkout my approach to matching including “Which shot should you start with?”
- Famous movie trailers
- Setting up the project including basic color management needed if you aspire to work on Netflix/Amazon type shows
- Matching the BMD 6k Pocket with a RED Komodo
- Adjust using RAW Color Temperature
- Resize the image to help it match
- Log grading
- Soften and Sharpen OFX
Footage. Travel Promo shot on RED R3D, BMD 6K Pocket, and various stock footage.
Class 2: Make the CEO look good
The secret behind nice skin tones is to always maximize your primary balance before attempting a secondary correction. The primary balance is followed by ways to enhance the ‘CEO’ who, in fact, might be your client!
- Subtle lighting with Resolve Power Windows, not lamps
- Skin keying
- Duplicate a Node
- Split Screen and Color Warper
- Match at the Clip level, then add the ‘Look’ on the Timeline level
- Add EDL Marks on Tracks
Footage. Travel Promo shot on RED R3D, BMD 6K Pocket, and various stock footage.
Class 3: What is the “Film Look”?
Earlier this year I colored a short film where we created a “Film Look”. 2 Words was shot on RED and the filmmakers have kindly given us three clips for this lesson. Use the OFX Halation plugin to add slight film light scatter, glow and grain. This is a fun insight on what makes an image more filmic.
- The Filmic Look 2 Words trailer
- Soft Vignette
- OFX: Halation and Grain
- It’s all about the eyes
Footage. Short film ‘2 Words’ shot on RED R3D
Class 04: The classics – bleach bypass & cross process
The ‘classic looks’ are a must have in your grading toolbox. You might not be using them every day but a sound knowledge of what they are and how you create them is vital. Being able to adapt a ‘classic’ to something more personable to your current project is a great advantage.
- Creating a Power Bin to house all your favorite trailers and looks.
- Bleach Bypass
- Cross process
- Warren’s Powergrade Gallery Look Library
Footage. A short film shot on RED R3D
Class 5: The classics – orange & teal, Amelie, and Peaky Blinders
The ‘Classic Looks’ should be stored as Powergrades so you can quickly show them to clients. Remember it is sometimes more about finding out what they don’t like, more than what they do like. You will never drag and drop a look, as each clip is different.
- Transformers, Orange & Teal
- Amelie, green in the background.
- Peaky Blinders, gritty with added grain.
- OFX: Grain
- Zoom your grading monitor when you zoom the GUI
Footage. A short film shot on RED R3D
Class 6: Remote Grades
Whenever you conform a show, the chances are a shot might be used twice. In that case, Remote Grades are your best friend. Learn how to switch your timeline to shooting orde,r which is A or C Mode. When you add a second cut, do you want to keep the color correction from the first cut or is it different? What are the big differences between conforming or using the ‘Baked’ workflow? I’ll explain this and showcase what I think is the faster and most efficient workflow.
- Judging Looks in the ‘Split Screen’ mode
- Remote Grades
- Adding a second cut with an XML
- A or C Mode to sort your timeline
- Make a version
- Split a Baked sequence with an EDL
- Group Grades. Pre the Clip and Post the Clip explained.
- The tracking problem we all face
- Copy just the Node not the whole Node tree
- Scale the entire image to fit
Footage: Travel promo shot on RED R3D, BMD 6K Pocket, and various stock footage
Class 7: Beauty
I get more questions about skin tones than any other grading question. It isn’t easy, so I’ll cover a few important rules you need to follow using a mixture of footage both well shot and some not so well shot. Learn how to balance an overexposed shot before keying. Tools and techniques covered include Magic Mask, Beauty and Face Refinement OFX plugin, plus learn how to do the classic, text moves with an object trick.
- Overexposed footage, what can you do?
- Is your grade too much?
- OFX: Beauty
- Magic Mask combined with the Beauty OFX
- Track text to an object or person.
- The Classic Stabilizer
- Patch Replacer OFX to remove a scar and mole.
- Fixing a flare
- The soft glow look for a wedding with a curve and a Layer Node
Footage: classic skin footage on RED R3D, BMD 6K Pocket, ProRes HQ, Panasonic GH5 and Arri Alexa.
Class 8: Fixed node structure in a long form project
What is a fixed Node structure and why do colorists work this way? It is really the only way to work fast when grading reality TV, TV drama, movies or any show that has lots of cuts in it. It makes copying grades and rippling very easy. Is it for you?
- Getting started with a basic structure, then build it up to suit your project
- Ripple a node change through the entire timeline
- Your client comes back six months later with new shots, what do you do?
- Color Trace explained.
Footage: a Courtroom movie sequence shot on Arri Alexa ProRes, BMD URSA Mini DNG, Sony F3 and GoPro
Class 9: Control surface, grading monitor and Ultrastudio 4K Mini
You’ve reached a set level with your grading. Maybe you want to add “colorist” to your job description. If so, you’ll need a grading monitor, a capture card/device, plus the option to add a control surface.
- Where does the colorist sit at the desk and what sort of room do you need?
- Ultrastudio 4k Mini
- LG OLED Pro 32950E grading monitor
- Blackmagic Resolve Mini Panel
- Blackmagic Advanced Mini Panel
Class 10: Action Footage
I look at the challenges of action sports using a mixture of footage including surfing drones, GoPros on mountain bikes, and glossy real estate footage.
- Color Compressor OFX for yellow skin
- Global HDR Tool
- Big vignette for sport
- Underexposed wide action shot matched
- Slo Motion options to remove judder.
- Sky grad with the Color Warper on a drone shot
- Keyframing a Grad Power Window
- Pushing into the frame during a slow Drone fly in
- Duplicate your timeline then switch to 9×16
- Changing the frame rate of an individual clip
- Creating Subtitles or importing an .SRT file
Footage: a combined Sports sequence shot on DJI Mavic 2, GoPro, Sony F5 and RED
Class 11: ‘Monsters of Man’ feature film workflow
I worked on Monsters of Man over a twelve month period preceding the release in 2020. Shot on four RED cameras, it required lots of balancing before the VFX could start. In this class, I discuss the workflow form the initial color look conversations through to the final grade/
- Watch the trailer
- Director – Colorist discusions
- Setting up the VFX technical pass
- How the project was set up and how far did we push the grade.
- VFX workflow back to the cut
- Final grade
- Frame io upload direct from Resolve
Class 12: How to build your brand as a Colorist
I have been a colorist for over 30 years and in that time I have worked with lots of clients as both a staff colorist and as a freelancer. These are my tips on how you can start to build your brand and in turn start to earn more money for your services
- Believe you are a colorist
- Setting up your session
- Clients are gold. Look after them
- Get the cinematographer on your side
- Should you work for free?
- Do you need a reel in 2023?
- Social media, how often should you post?
- Networking is more important than ever
Class 13: Resolve 18.1 Update
Blackmagic is constantly updating their software with new features. Here are some of the cool things I have been using in my grading shop that were released in 18.1:
- The new Sky Replacement OFX. It’s both easier and faster to use.
- Automatic Voice Isolation to remove background noise.
- Automatic Dialogue Leveler will match up your different dialogue sources
- Overall speed improvements, including the Super Scale feature which is great for up-rezing low quality or archive material
- Optical Flow with Speed Warp for decreasing slo mo stepping of frames
- The new Tangent Warper that allows the colorist to map buttons with Tangent control surfaces
Class 14: Resolve 18.6 Update
Blackmagic never sits still when it comes to software development. They are fully invested in AI so here are 12 cool features that I have been using in my grading shop including the new AI tools:
- Stream direct to an iPad with the DaVinci Remote Monitor iOS App
- The Relight OFX Plugin, great for a slightly flat interview.
- Color Space Transform ‘Swap Tool.’
- The Tracker is constantly improving.
- Export a JPEG still from anywhere in the software.
- Composite Mode for blending in a Serial Node
- Create a 9×16 version from your 16×9 master including a different Color Space and Gamma.
- Automatically reframe the image to the important content on the screen using Smart Reframe.
- Automatically create Subtitles from speech.
- Render direct to TikTok.
- Automatic Timeline Back ups.
- Transcribe speech, then edit vision to your timeline by selecting the transcribed text.
- The Magic Mask just gets better and better.
- The new Blackmagic Cloud project set-up window.
Paul Pitzel (verified owner) –
You’re in good hands here. Warren is a Master Colorist with a Film Background. I started using Davinci Systems since the mid 1990’s. I was excited to find this course. It’s pretty hard find better instruction then what fxphd has to offer. Great tips for all level’s. Warren’s is very comfortable teaching with a “No Holds Barred Attitude” .
Think about what he says and review these lessons a few times. Lot’s of nice gold nuggets here. Buy all three resolve 18 courses if you can.
Upvote if this was helpful (0) Downvote if this was not helpful (0) Watch Unwatch Flag for removal
michael descheneaux (verified owner) –
I thought there was more a specific how to create a show look, there was not a lot of info about color management , how to verify your show look , LUT etc.
this courses is more an overview for general practices.
Upvote if this was helpful (0) Downvote if this was not helpful (0) Watch Unwatch Flag for removal