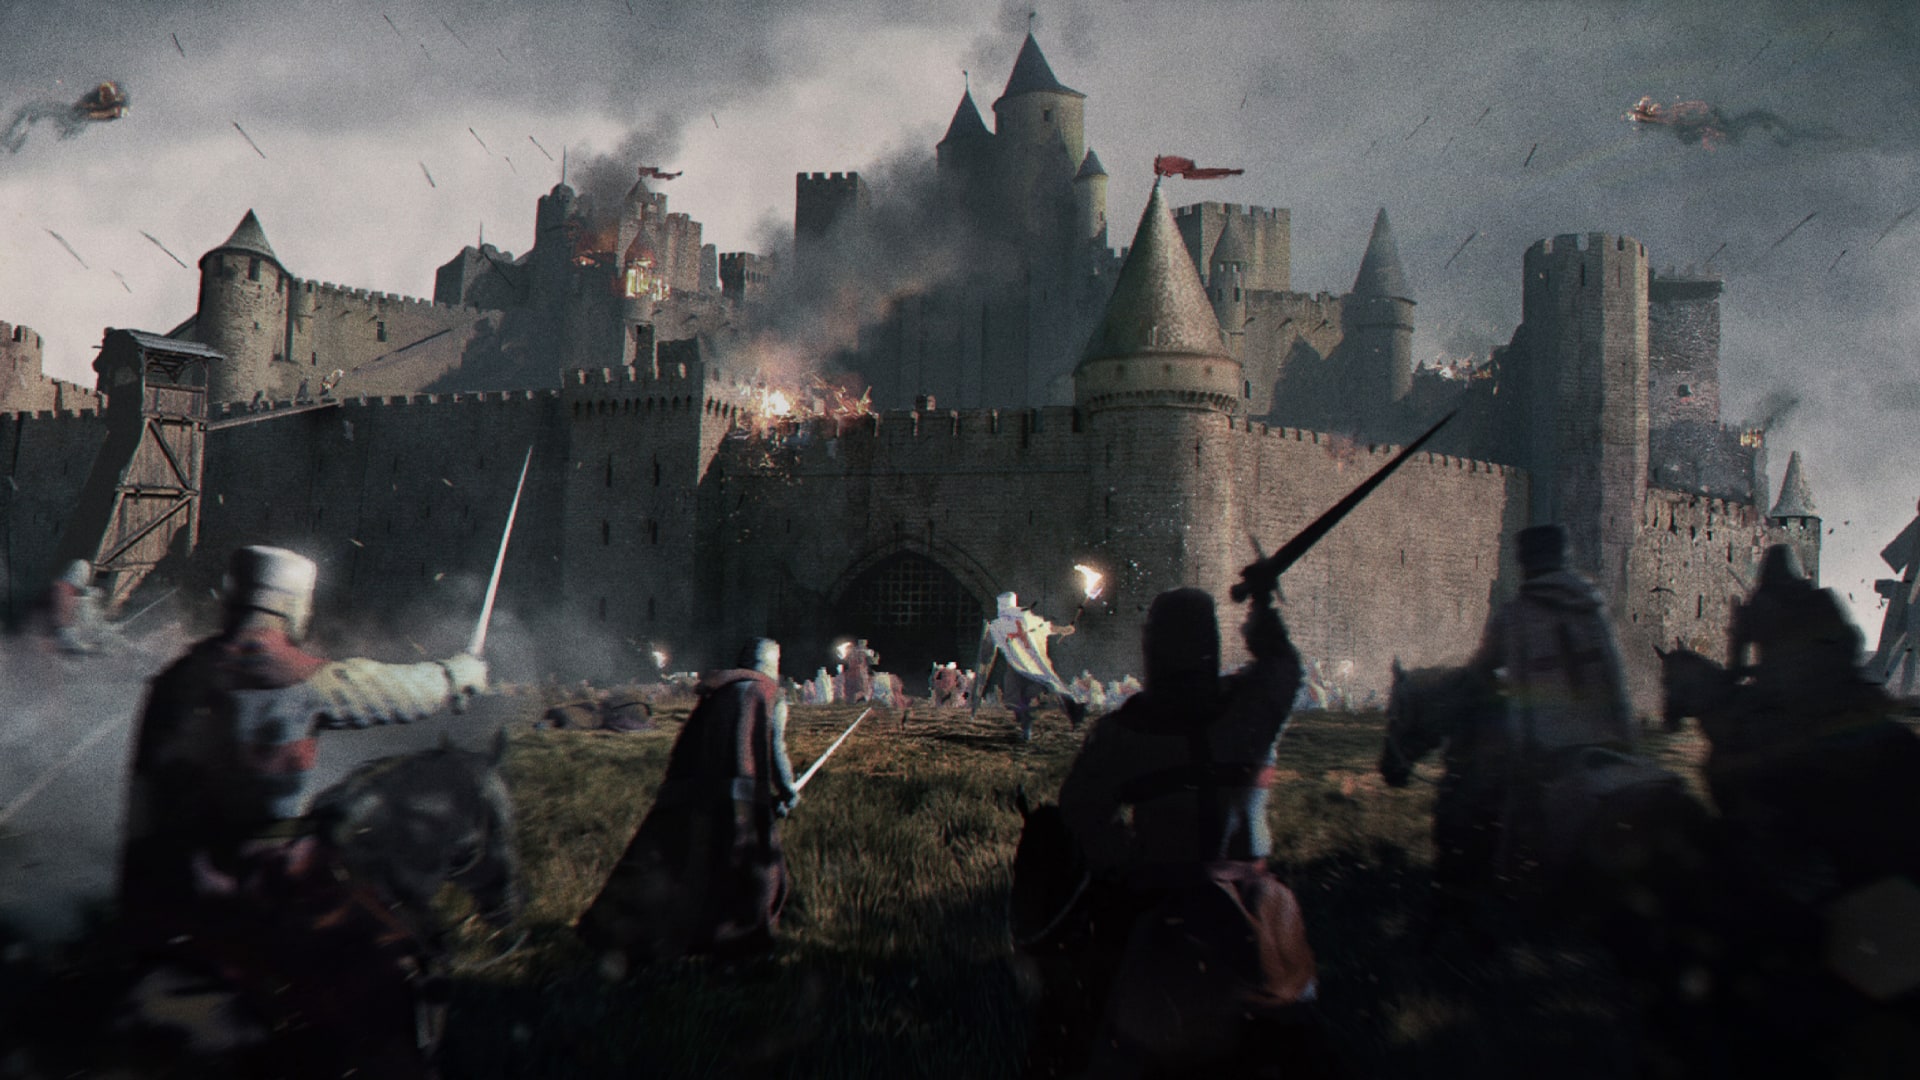
Battle for Bazoches VFX Project
Taught by Charles Chorein
- Duration:
- 7 hours 1 minutes
- Software Version:
-
- Launch Date:
- December 2022
- Course Number:
- VFX308
3D
vfx
3D
vfx
The classes will be led by a variety of artists who contribute to the shot, based upon their specialty in the field. Leading the overall project and many of the classes is Charles Chorein, a London-based VFX supervisor who has taught many courses for us over the years.
Class Listing
Class 1: Overview of the course
VFX supervisor Charles Chorein and fxphd co-founder John Montgomery provide a brief overview of what's to come in the course.
Class 2: Concept Art
Concept artist Aurélien Ronceray, Charles Chorein, and John Montgomery discuss the concept art process for the project.
Class 3: Camera Tracking - 3DEqualizer Part 1
We set up the 3DEqualizer project based on our drone sensor and focal length and use our LIDAR 3D mesh generated on another class with Reality Capture to help us lining up our 3D camera (the Reality Capture section of the course comes later),
Class 4: Camera Tracking - 3DEqualizer Part 2
Having started the calibration based on our LIDAR, we add more tracking to be able to “project points on 3D models” to line up our 3D castle. As a result, we have the camera in our 3D space and adjust the camera focal length.
Class 5: Camera Tracking - 3DEqualizer Part 3
The Image Control Window is a powerful tool to manipulate our images with chroma, curve, and color controls to be able to reveal and focus on specific details that aren't clear in the original image. This helps our 2D tracks "stick" better and be more consistent during the tracking process.
Class 6: Camera Tracking - 3DEqualizer Part 4
Lens distortion is an important part of the 3D tracking process, so we examine how 3DEqualizer's tools are able to adjust for this and create an accurate track. Also, rendering a quick quality check of the track and exporting for Maya.
Class 7: Camera Tracking - 3DEqualizer Part 5
Using the “Lens Distortion Plugin Kit” in Nuke to un-distort the plate and export a jpeg sequence for use in Maya.
Class 8: File Prep Part 1 - Organization and Structure
An overview of the project structure for the course. All folders, working files, and published files has to be organized and named in a specific way to be able to work through the project efficiently.
Class 9: File Prep Part 2 - Resolve & Colour Management
Setting up our project in Resolve with colour management. How to work with ACES between Resolve and Maya/Nuke to avoid any lost information or colour issues in our VFX workflow.
Class 10: File Prep Part 3 - LUTs in Resolve & Nuke
Using the DJI Mavic 2 Pro LUT in DaVinci Resolve and examining how it works with our ACES workflow and our OCIO Transform node in Nuke to match the LUT. One of the tricky things with ACES is to keep consistency between software.
Class 11: File Prep Part 4 - Matching CG Lighting with the Plate
Creating a Nuke template to output our image sequence to EXR, JPEG and QT with different resolutions. Lens distortion pipeline with 3DEqualizer and Maya.
Class 12: Blender and Concept Work
Aurélien Ronceray returns to walk through how he uses Blender to workin on concepts.
Class 13: HDRI, Part 1
We analyze images taken on location with our DSLR and fisheye 8mm and figure out what needs to be done during the shooting to create our HDRI with PTGui on the most efficient way. Then we create our HDRI in PTGui with the bracketed images and stitch them in a latlong HDR final image. How to use Control Points to improve or help the stitch between certain images.
Class 14: HDRI, Part 2
Cleaning up the environment light and the sunlight in Nuke to be able to create our light rig. Adjusting white balance and neutralizing our HDRI with the mmColorTarget gizmo in Nuke.
Class 15: HDRI, Part 3
Our HDRI is ready to be used in Maya. However, to be able to create a solid lightRig and match the lighting based on location we need to adjust our white balance and neutralise our grey/chrome balls and macbeth chart using mmColorTarget gizmo in Nuke. Now we are able to jump into Maya and setup our CG scene with the castle LIDAR and Macbeth chart and grey/chrome balls.
Class 16: HDRI, Part 4
We analyze the plate and aim to match our CG lighting to be able to replicate the same lighting in Maya. Part of the setup is to create two different passes with basic AOV's and overwrite like we will do in production.