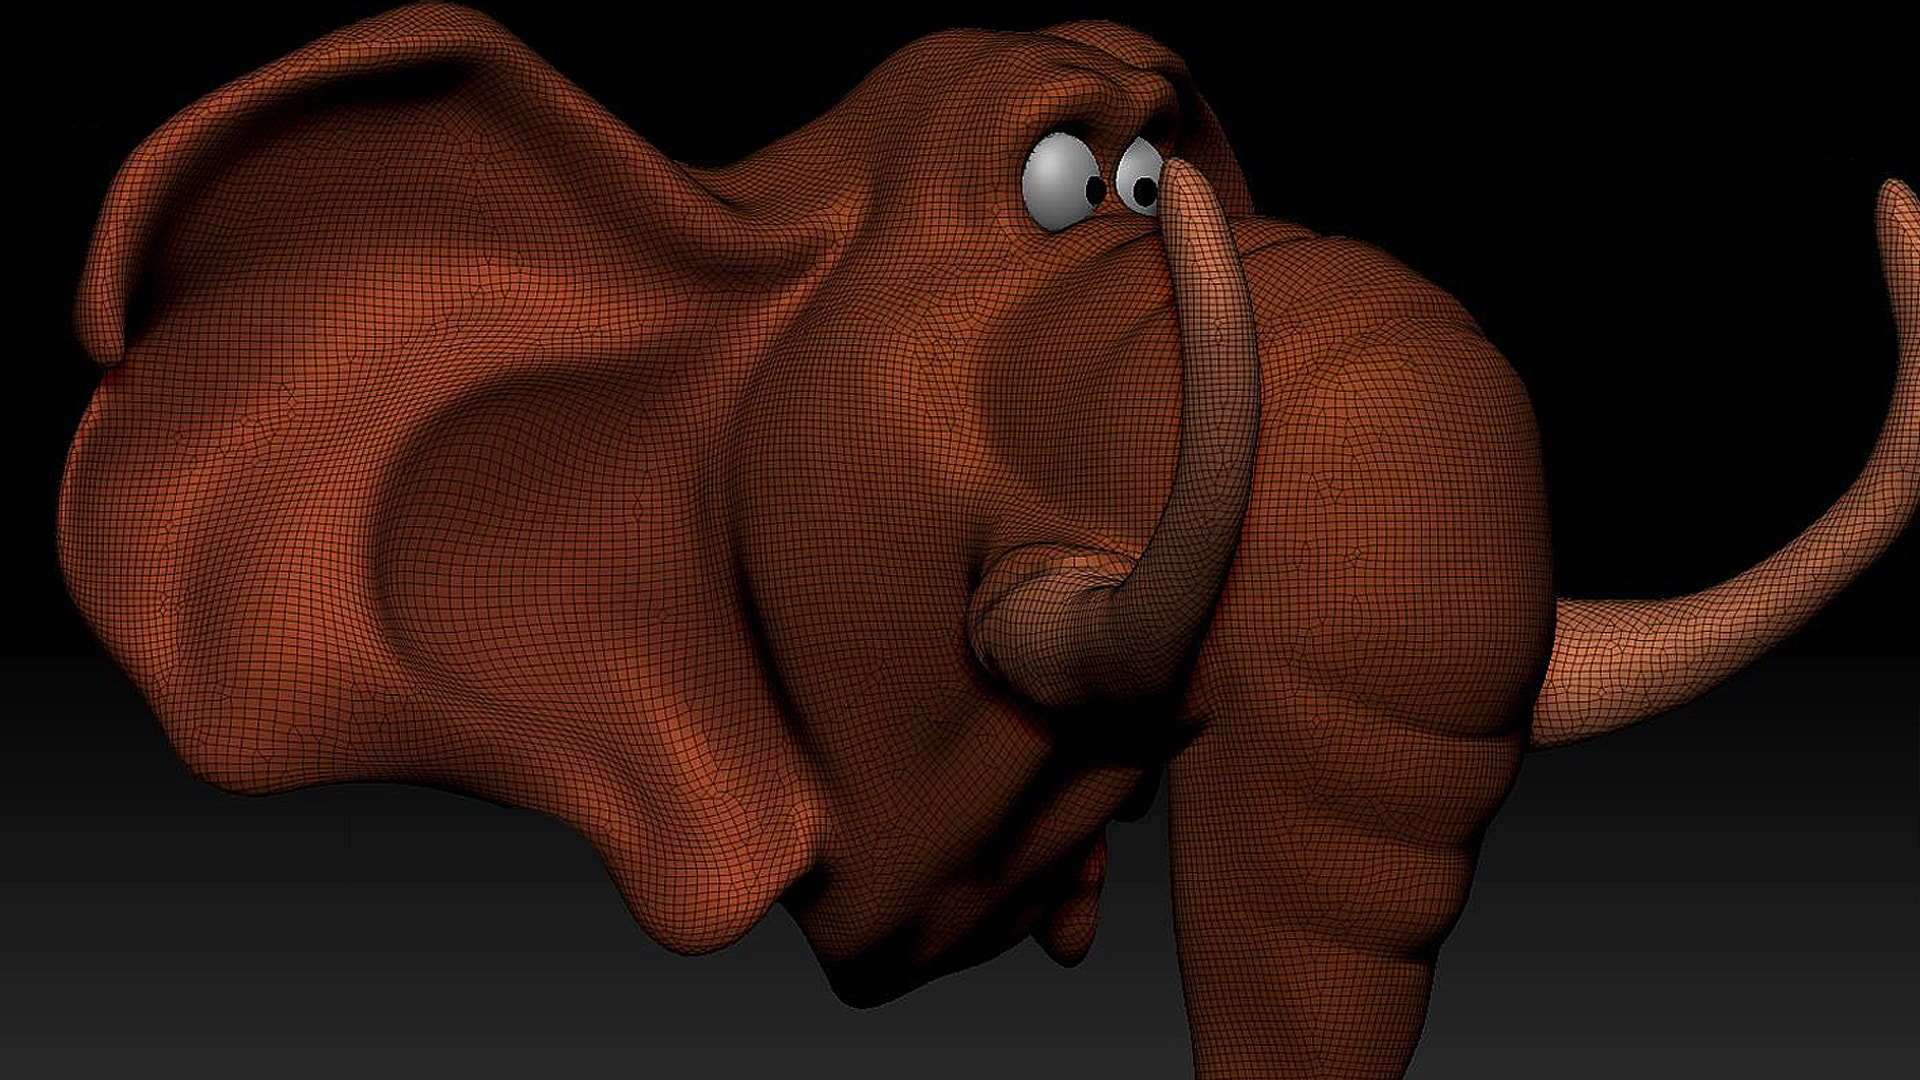
ZBrush Project: The Cartoon Elephant
Taught by Charles Chorein
- Duration:
- 4 hours 4 minutes
- Software Version:
-
- Launch Date:
- June 2021
- Course Number:
- ZBR201
3D
3D
Charles is a CG supervisor at Cinesite London with 12 years of experience. He has been working in London since 2009 and has achieved various movies such as The Hobbit: The Battle of the Five Armies, Prometheus, The Hunger Games: Catching Fire, Superman: Man of Steel, Harry Potter and the Deathly Hallows Part 2, Pirates of the Caribbean: On Stranger Tides, and Despicable Me. He has been working for years in TV and recently finished Dark Crystal for Netflix. He is currently involved in a few projects for Netflix and Amazon that are coming early next year.
Class Listing
Class 1: Foundations
A focus on methodology in ZBrush, with only the five main brushes we will need to create our cartoony elephant. SpotLight will be an important feature to help the process. There is also an aim to very quickly get all the proportions correct on the elephant.
Class 2: SDiv and details
Continuation of sculpting our elephant, switching from DynaMesh sculpting mode to SDiv sculpting mode in order to add details.
Class 3: UVs
With the model complete, the focus is on creating UV’s to be able to create our texture color and displacement map. An exploration of the UV Master tool and how to quickly create UVs. To end the class, a quick check on everything in Maya with a checker board and fast render in Arnold.
Class 4: Details
Now that there is a solid base with the modeling and UVs, it’s time to add some details with Photoshop and 3D layers, providing the flexibility we need.
Class 5: Polyplaint in ZBrush
Painting in 3D with ZBrush can be very quick and useful. In this class, we explore the polypaint technique. At the end, we will bake and generate the color and displacement map and export everything for Maya.
Class 6: Preparing for Maya
It’s time to gather everything from ZBrush and prepare our 3D scene in Maya. We create a background, a simple light rig and see how to set up the displacement in Arnold.
Class 7: Preparing with Arnold
We connect our color map in AISurfaceShader and finishing our light rig based on some references.
Class 8: Finalizing Maya
We explore the “ZBrush to Photoshop CC" tool to render a final image if we don’t want to use Maya/Arnold. In parallel, we finish preparing our Maya scene for the final render with a quick turntable, some AOV’s for the compositing, and Denoise AOVs.