Lighting and Look Development in Katana
Taught by Charles Chorein
- Duration:
- 6 hours 42 minutes
- Software Version:
- 2
- Launch Date:
- January 2016
- Course Number:
- KAT203
3D
3D
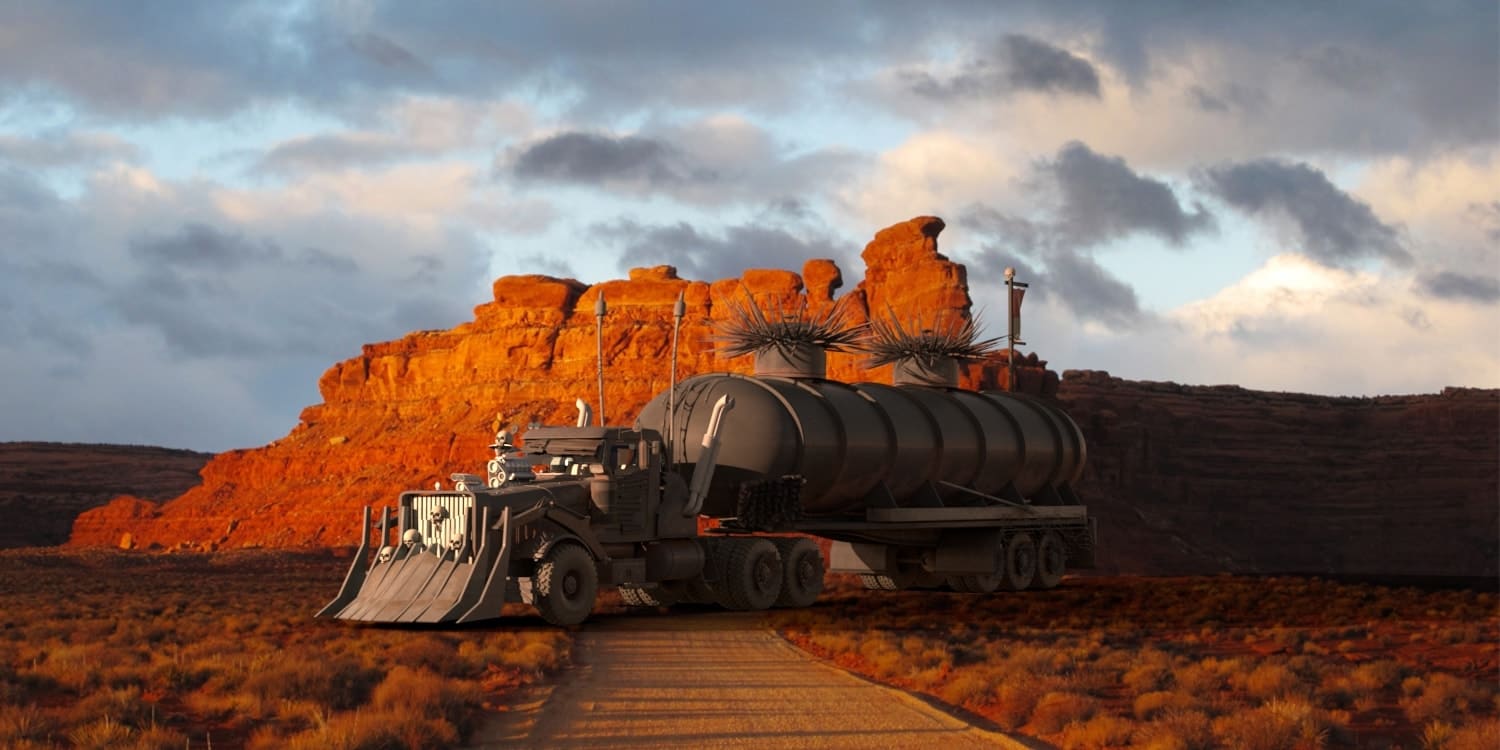
This course will take you through a full review of how to integrate an object in a shot with Katana 2 and RenderMan 20 using RIS, match a CG Camera to a reel Camera, match a lighting to a plate and integrate the asset in a shot. We will create all the shading network with the texture from the previous course, use HDRI and physicallight to match to the reality and integrate our asset in the shot.
Charles Chorein is a Lead LookDev/Lighting at MPC with 10 yearsof experience. He has been working in London since 2009 and has achieved various movies such as The Hobbit, Prometheus ,The Hunger Games 2, Superman: man of steel, Harry Potter 7, Pirate ofthe Caribbean 4, Despicable Me and recently Terminator Gensys. He is currently involved in the next The Jungle Book from Disney. He covered the look development and Lighting aspects of VFX301/302: Tornado Destruction, VFX303: Submarine andMYA226: Batgirl
Class Listing
Class 1
We explore the asset in Maya and set up everything to get ready for Katana. We will go through different technical checks to be sure the asset is ready for Katana and we will match our CG camera to the real camera.
Class 2
Before to start the lookDev, we need to put our truck on a layout and see the direction of the lighting and the camera point of view. We will explore the different issues we get from shooting with a real camera with the distortion and the sensor and convert them into the CG world.
Class 3
The HDRI will be our starting point to setup our lighting in Katana. We will see how to calibrate it for our needs. We will use Nuke to adjust the maps
Class 4
Now we have a balanced HDRI and a plate, we start to add some lights to integrate our truck in the background. At the end we will have a nice lightRig with our truck integrated with a grey shader.
Class 5
We now have a lightRig setup on a grey shader, so now we will focus on the different shader. We assign different materials for the truck. We will do a pre-shading of all our objects in the scene to have the intention of the materials.
Class 6
We set up all the textures with the shader we set up previously. We will see how the texture can have a huge impact on our lights and shaders and how to balance everything.
Class 7
We spend time adding more details in our texture and shaders to prepare the trunk to close up shots.
Class 8
We have finally everything in place in Katana/RenderMan, we now adjust the lighting, texture and shader to improve and balance everything.
Class 9
Now we have our beauty render, we need to prepare everything for the compositing, we will cover how to setup the render pass in Katana and the different AOV’s we will need in Nuke to improve the CG.