3DS Max Destruction Techniques
Taught by
- Duration:
- 7 hours 0 minutes
- Software Version:
- 2012
- Launch Date:
- April 2012
- Course Number:
- MAX203
3D
3D
Hristo is a feature film VFX artist, specializing in destruction with 3DS Max. Experienced in productions like '2012', 'Sucker Punch' and 'Red Tails', he shares the experience and lessons learned from large scale VFX production work.
Class Listing
Class 1
We start with an overview of the project, the goals of the course and the ideas behind it. Then we get to planning it - analyzing the project, laying out all the steps towards the end result and the thought process behind them.
Class 2
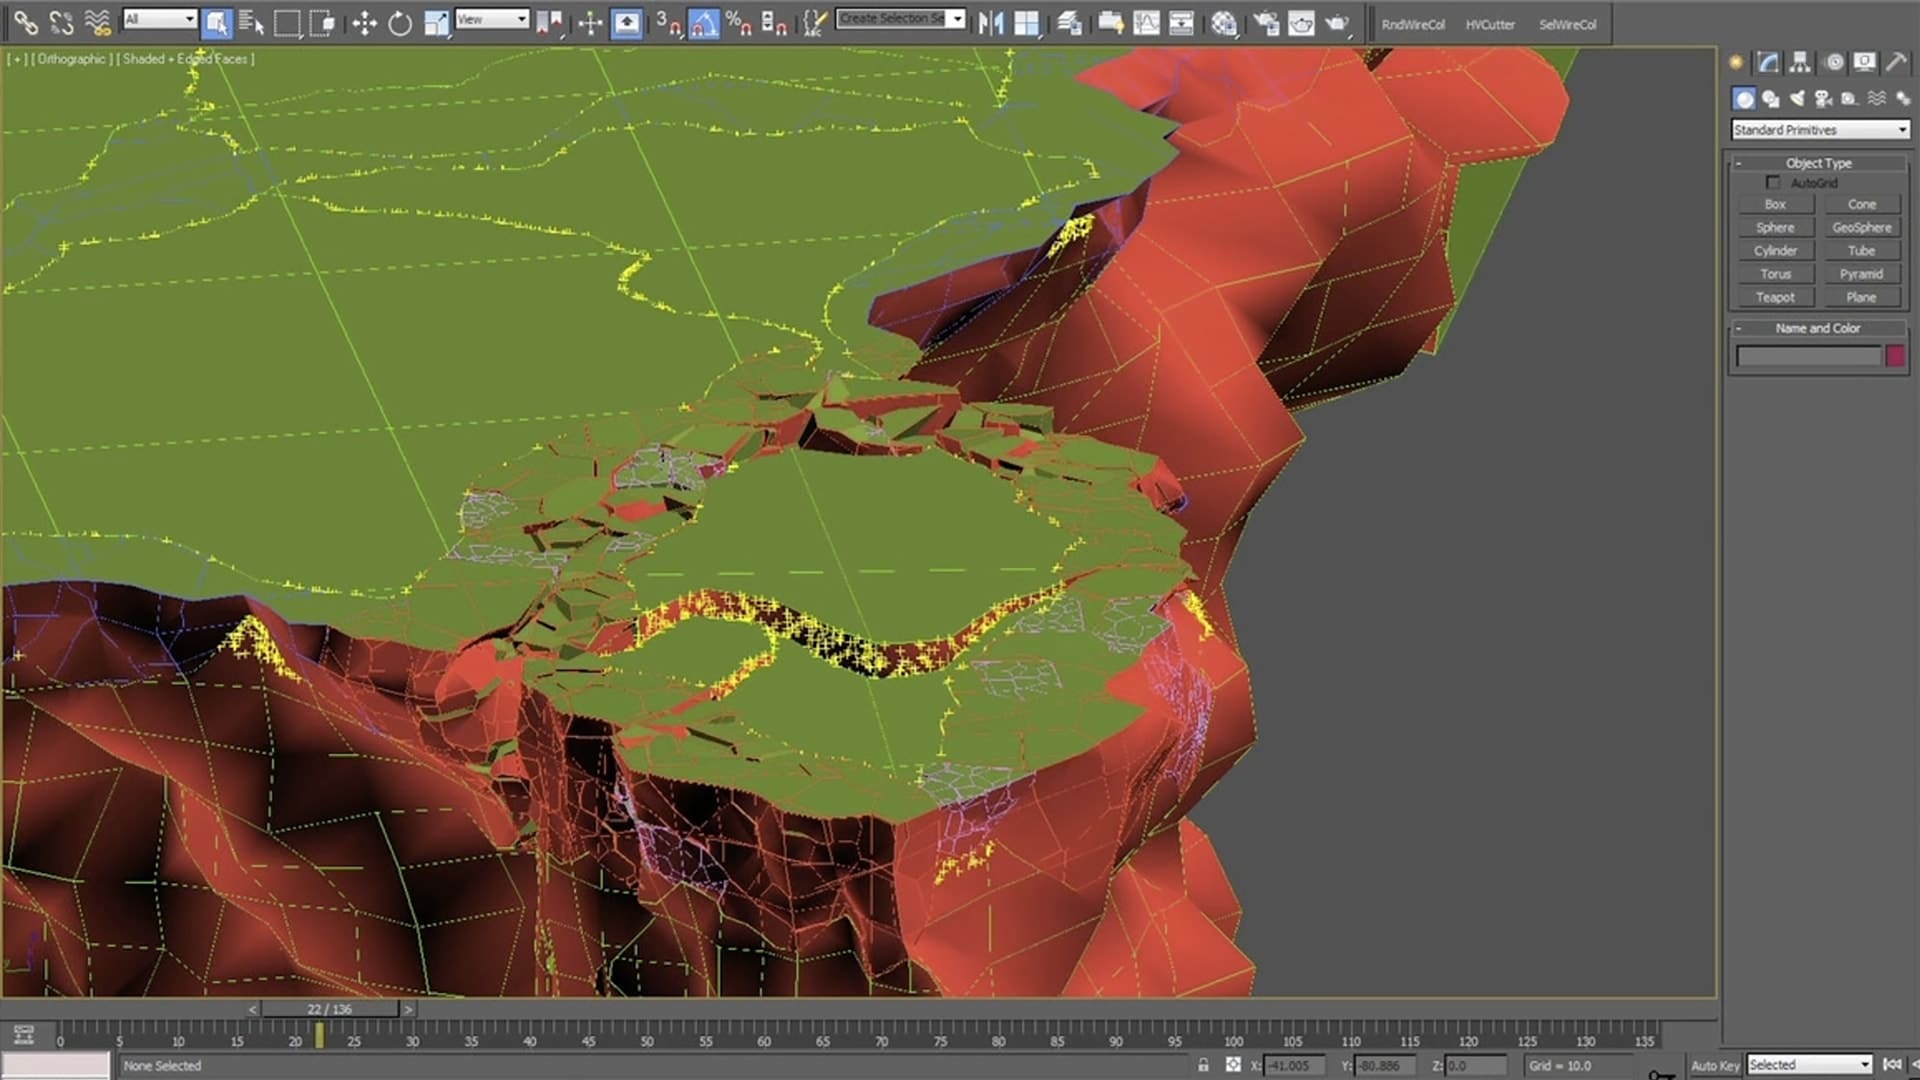
Dealing with with the primary cut of the big earth pieces and building a system to animate them in Thinking Particles. Good fragmentation practices, setting up useful animation controls and versioning the animation get covered.
Class 3
We use the main animation we have prepared and cut the pieces once more, to get detail on the edges. Then we look at implementing the second level simulation on top of the first level one, retaining the underlying motions and adding detail.
Class 4
Working on the third level simulation, where fragments are small enough so we can use procedural fragmentation with VolumeBreaker. We set up some useful rules on fragmentation and activation, introducing one more level of detail.
Class 5
With the base simulation done, we'll cover replacing the big pieces with separate sims - cutting and simulating each independently, to increase the detail and get a sense of scale.
Class 6
At this point we shift from rigid bodies to volumetrics, starting up with dust clouds. We'll use the prepared rigid body sim at the appropriate level and generate particle sources to feed into a FumeFX simulation of dust clouds rising up.
Class 7
Continuing with dust, this class shows how to add two types of dust trails on the falling rigid bodies. The strategic questions of arranging volumetrics are taken care of.
Class 8
Augmenting the rigid body simulation with simple particle debris. Again, we produce several elements, starting with splashes, and we're composing them so they play nicely with the rigid bodies and the volumetrics.
Class 9
A second type of debris element - a trail - is added. After that, some special attention is directed towards the options offered by post cache operations.