Flame and Smoke in Production
Taught by John Montgomery
- Duration:
- 6 hours 44 minutes
- Software Version:
- 2010
- Launch Date:
- January 2010
- Course Number:
- FLM206
Recent versions of Flame and Smoke have blurred the line between products, as Smoke gains BatchFX and Flame gains a more versatile editing timeline. This course is designed to be appealing to artists and editors alike, covering topics which are generally applicable across both products. For those diving into Smoke on Mac for the first time and interested in getting a bit more advanced training, this course is an attractive option to take alongside SMK101.
Professor and Dean John Montgomery will tackle a variety of jobs and techniques over the course of the term.
Class Listing
Class 1
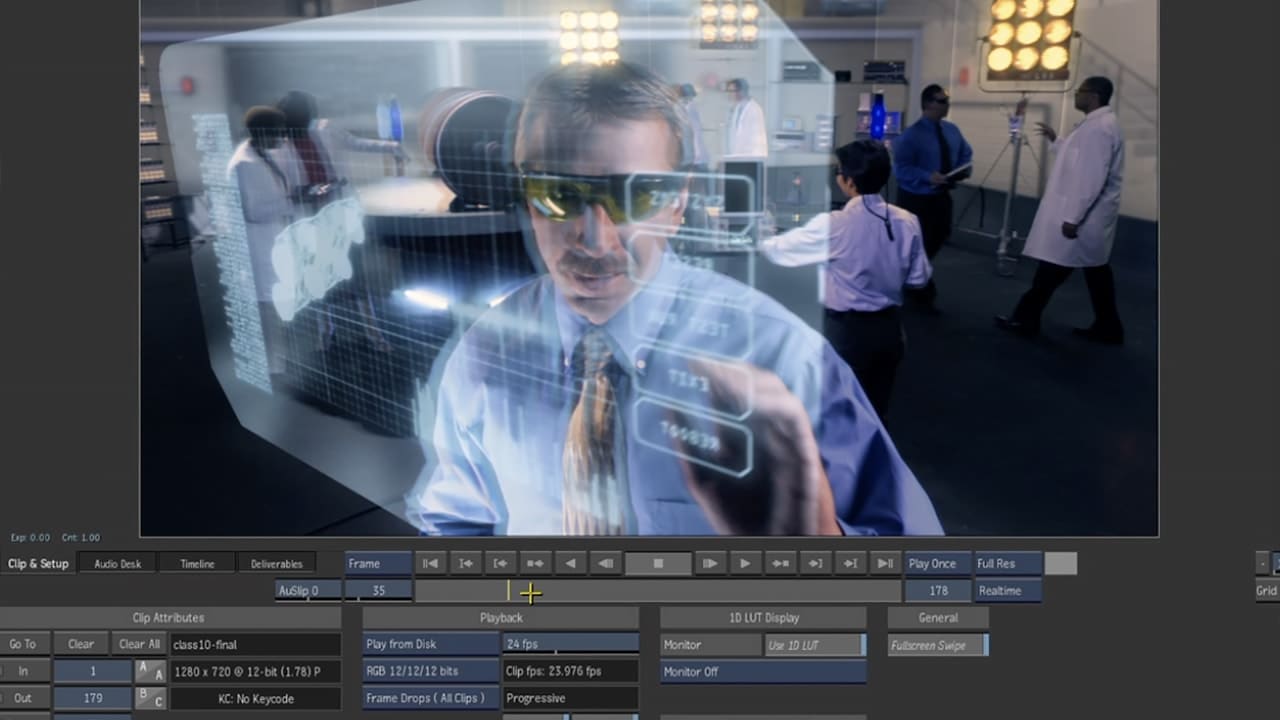
Control Room Shot, Part 1 - We’ll start out the term beginning to tackle a fairly complex green screen shot which will be finished over several classes. This shot will involve a wide variety of techniques including 3D camera tracking in PFTrack, green screen compositing, screen replacements, UI creation, and more.
Class 2
RED in Flame/Smoke - Who hasn’t done a job recently that involves RED footage? We’ll look getting an offline from Final Cut Pro and using Wiretap Central to convert the R3D files into footage that can be used in Smoke and Flame.
Class 3
Working on the control room shot, showing masking techniques as well as an introduction to the Modular Keyer in action.
Class 4
Alternative approaches to masking and keying of the control room scene. Why you want to use the 3D camera tracking data to make masking easier using the GMask node in the MK. We also touch on creating custom MK nodes and using Min to bring out details in the foreground.
Class 5
Continuing work on the control room shot. Cleaning up a shot efficiently goes a long way to easing the creative process. We look at a variety of cleanup and patching techniques to help speed up these tasks. Also, prepping a reference for the HUD graphics.
Class 6
Illustrator to Smoke/Flame - Guest prof Brian Mulligan will show how he uses a combination of Illustrator and Photoshop to get usable high resolution artwork into smoke.
Class 7
Continuing the control room shot, with a first look at adding graphics. Tips for using TypeTool to create True Type fonts from Illustrator graphics and ensuring they line up correctly in flame. Creating the base of the heads up display upon which we'll layer the graphics.
Class 8
Control Room Shot: Graphics, Part 2. Clip history overview, soft-import benefits and pitfalls, Duplicate functionality in Action, and more.
Class 9
TBAControl Room Shot: Graphics, Part 3. Putting the final touches on the HUD UI.