
Resolve Fundamentals 18 with Warren Eagles
$49.00
This is the 17th season of my partnership with fxphd to produce online Resolve training. In today’s world, we are shooting more and more content, all of which needs to be edited and graded to maximize impact.
It doesn’t matter if you are making YouTube training videos or directing your first feature film, coloring is very important and is the final piece of the film making jigsaw. My aim is to give you the confidence to color your first project from top to bottom in Resolve.
Here’s what I’ll be covering in the course….
This course is targeted at beginners in Resolve
This is a complete beginner’s course. You will be taken through the steps needed to get started with both the editing and color features. You can follow the individual 20 to 25 minute classes using the same techniques on the same footage that I use. The training media can be downloaded and may also be used for your showreels.
You will be coloring a wide variety of footage
Footage included in my course includes a Noosa, Australia tourism sequence that was filmed on the Blackmagic 6K Pocket camera, the RED Komodo, and includes a variety of stock footage. You will learn how to assemble a basic sequence including speed ramps, re-frames and titles. Once the sequence is edited, you’ll learn how to color correct it combined with window shapes, keying and tracking before rendering to your desired social media or TV destination.

Learn the craft of grading, not just how to use the software
I will always try to show you ‘why’ you do something not just ‘how’ to do something. My aim is to give you a very rounded view of not only the software but grading in general. I think my real world experience as a colorist and teaching classroom classes for iColorist helps the way I transport techniques into my online training classes at fxphd. You will find cheaper or free tips on YouTube, but you’ll never get the time back you’ll spend searching for them!
The course is ideal for editors, photographers, DITs, DPs, VFX artists, directors, and even producers.
If you want to understand more about the color process — or if you need to edit or grade a 30 second promo for social media, a small TV commercial, or your passion project short film, this course is for you.
It will also give DPs, directors, and producers a better understanding of the complete post process. The course will give you a solid foundation and the confidence you need to get started and grade your first project.
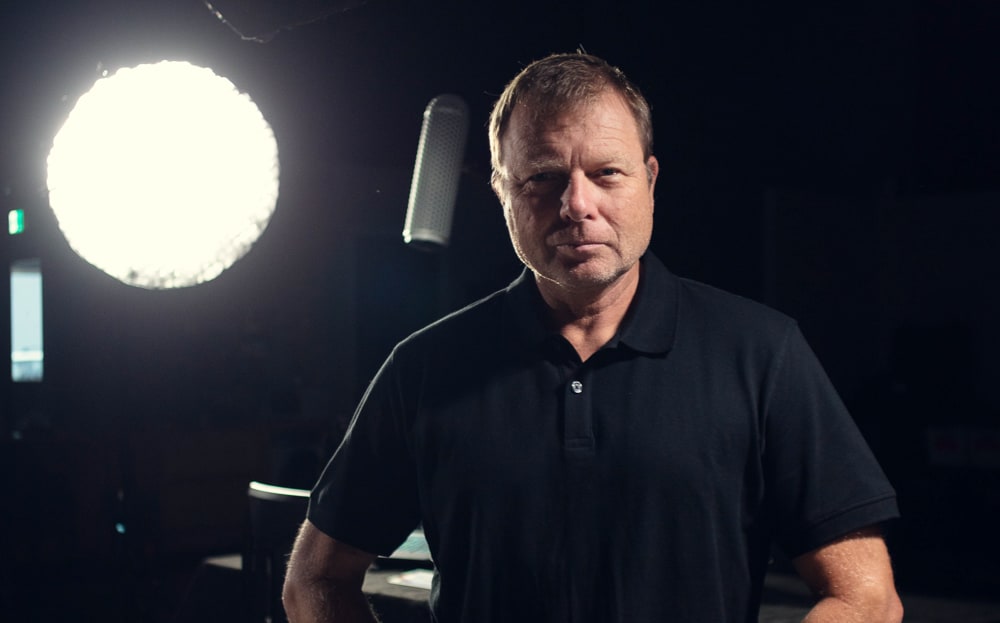
About me
I’ve been grading for 30 years, starting in photography before moving into London’s film cutting rooms and settling into the role of Colorist. I have extensive experience in all forms of grading, from Super 8 music videos to feature films. I’ve been using Resolve since 2005 and am proficient in both the software and what can be achieved creatively with it. I have my own DaVinci Resolve grading facility in Australia and spend time grading or teaching International Colorist Academy classes.
Visit my web sites at:
www.warreneagles.com.au
www.icolorist.com
Class 1: DaVinci Resolve, what’s it all about?
Warren walks you through the Resolve 18 software, showcasing his aims for the course.
Footage. Travel Promo shot on RED R3D, BMD 6K Pocket and various stock footage.
Class 2: Getting started with Resolve
Download the software and dive in! Blackmagic Design have done a great job making the software easy to use. See how to create a simple timeline and get started.
- What should you buy: the free Resolve version or Resolve Studio?
- Downloading the software
- How to set up the Resolve user preferences
- Creating a new project with mixed camera footage
- Looking at the Metadata and clip info
- Creating a basic timeline
Class 3: Getting started with Editing
How hard can it be? If you already color in Resolve it makes sense to stay in Resolve and edit. It’s so much easier than using Avid, Premiere Pro, or FCPX for editing before jumping to Resolve for color.
- Editing a small sequence together
- Project settings
- Reviewing all your camera rushes
- Choosing a clip to start your edit
- Insert, over-write, and replace commands
Class 4: Basic Editing
When I started out back in 1987, we only had two formats 16mm and 35mm film! Learn why there are so many different camera formats these days, learn about the subtle differences and how they behave in Resolve 18.
- Editing different camera formats
- Coloring whilst editing so you don’t have to look at flat pictures
- Storing your grades in the still store Gallery
- The Split Screen viewer
- Slip or roll your edit
- Changing the speed and size of a clip
- Creating a picture in picture effect
Class 5: Primary Color Correction, Part 1
Well done! If you have gotten this far, you have successfully edited a number of clips from different cameras into a short sequence. Now the fun begins: you’ve got to color it!
- Adding an external hard drive
- Basic color management will be needed if you aspire to work on Netflix/Amazon type shows
- The most important skill, the primary grade
- The scopes explained, plus the important relationship between the scope and the Resolve viewer window
- Evaluating the image with the RGB 10bit Color Picker
- Balancing Log footage using Offset, Contrast and Pivot before using Lift Gamma Gain
- Making the picture black and white to judge contrast
- Using a greyscale ramp to understand the tools
- Backing up your session
Class 6: Primary Color Correction, Part 2
Nobody said it was easy! You have graded some nice pictures so far but we still need another lesson or two on primary grading. We are often in a rush to start a project, but is it wise to plug in your hard drive and get started straight away?
- Cloning footage from an external HDD to your fast storage
- Copy your grade to another shot
- The Resolve Node explained
- Balancing a shot with a bad color temperature
- What is a LUT and how do we use them?
- The Resolve vectorscope
- Don’t crush the blacks, YouTube doesn’t like it!
- What is the correct order to use the tools in?
- Grabbing a still frame into the Gallery to save your grade that can then be used as a reference still or exported.
Class 7: Primary Color Correction, Part 3
What to do if you receive very dark or underexposed footage. How far can you go before breaking the image?
- Primary color correction reviewed
- The best practice for lifting an underexposed shot
- What are the noise reduction options?
- Fixing bad color temperature
- A cool trick to reset your eyes and your brain
Class 8: Color
Every film has a main subject, whether it be a singer, lead actor, whisky bottle, fast car, etc. Bring the subject to the attention of your viewer using Power Windows to creatively light the subject.
- Why is it a good idea to shoot a color chart?
- Custom curves
- Don’t break the image!
- Adjusting a selected area using a Power Window
- Is it a matte or a Mask Power Window?
- Tracking: the most fun you have in a dark room!
- Animating to fix the Automatic Track when it fails.
Class 9: Secondary Color Correction
You want the viewer to look at your interviewee, but the girl in the hi viz jacket behind keeps drawing your viewers’ attention! Secondary tools are great for subtly changing the saturation or hue of a color so it draws your attention either more or less.
- Always balance the picture first.
- Secondary Color Correction with the eye dropper Qualifier
- Fine tuning the isolation area with Matte Finesse
- Hue Curves vs. The Color Warper
- Changing the color of a single object in the scene
- Restoring a Resolve back up to your system.
- Want to practice? What can we do?
Class 10: Proxy Workflow
If you want to collaborate with another editor or colorist, the easiest way is to make and share proxy files. They are low resolution clones of the original RAW footage, often encoded as H.264 files.
- What are proxies and how do we make them?
- The timeline proxy mode that lowers quality on the fly
- Using the Proxy Generator to make proxies for the advanced class
- Optimize media to make it easier to edit bigger files on your system
- Rendering with your low res proxies to make a quick “work in progress” movie
Class 11: The Fundamentals Grading Challenge
This is a fantastic sequence with many problems that will test what you have learnt so far. Set yourself a time limit of sixty minutes mins to grade the whole sequence. Good luck!
- Project settings, color management, frame rate etc.
- Saving a project default
- Use the Scene Cut Detector to add edit/cut points to the ‘”baked’ sequence exported from Premiere Pro
- I give you my thoughts on how to grade it, what would I would do
- Matching underexposed and overexposed shots side by side to see then both on the monitor and the scopes at the same time
- Playing at double speed to check consistency
- Using the Lightbox feature to see a thumbnail of each clip in your timeline
- Face Refinement OFX to easily enhance the face
- Sizing options explained
- Grading the whole timeline, not just the clip you are on
- Fixing bad color temperature
Class 12: Finishing and rendering your film
We have learnt lots of things, but our grade is only as good as the render our client will see. I discuss our render options including making an Instagram square version.
- The Deliver Page
- Render your HD footage and timeline to UHD
- Changing the decode settings
- Making your 16×9 aspect ratio timeline fit an Instagram square format
- Saving a render preset
Footage. Travel Promo shot on RED R3D, BMD 6K Pocket and various stock footage.
Class 13: Resolve 18.1 Update
Blackmagic is constantly updating their software with new features. Here are some of the cool things I have been using in my grading shop that were released in 18.1:
- The new Sky Replacement OFX. It’s both easier and faster to use.
- Automatic Voice Isolation to remove background noise.
- Automatic Dialogue Leveler will match up your different dialogue sources
- Overall speed improvements, including the Super Scale feature which is great for up-rezing low quality or archive material
- Optical Flow with Speed Warp for decreasing slo mo stepping of frames
- The new Tangent Warper that allows the colorist to map buttons with Tangent control surfaces
Class 14: Resolve 18.6 Update
Blackmagic never sits still when it comes to software development. They are fully invested in AI so here are 12 cool features that I have been using in my grading shop including the new AI tools:
- Stream direct to an iPad with the DaVinci Remote Monitor iOS App
- The Relight OFX Plugin, great for a slightly flat interview.
- Color Space Transform ‘Swap Tool.’
- The Tracker is constantly improving.
- Export a JPEG still from anywhere in the software.
- Composite Mode for blending in a Serial Node
- Create a 9×16 version from your 16×9 master including a different Color Space and Gamma.
- Automatically reframe the image to the important content on the screen using Smart Reframe.
- Automatically create Subtitles from speech.
- Render direct to TikTok.
- Automatic Timeline Back ups.
- Transcribe speech, then edit vision to your timeline by selecting the transcribed text.
- The Magic Mask just gets better and better.
- The new Blackmagic Cloud project set-up window.
What others are saying
There are no contributions yet.